First time with Arduino and AVR microcontrollers
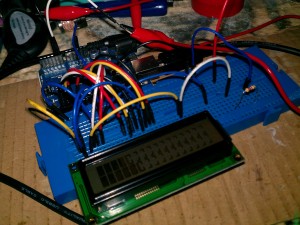
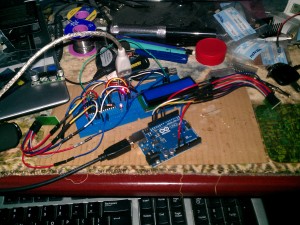
I had been eying up Arduinos and looking into getting started with digital electronics for a while and now finally brought an Uno along with a 16×2 character LCD with RGB backlight. Wow. It’s like I’ve unlocked a whole new world of electronics, for years I’ve looked at digitally controlled devices like LCDs woundering how I could use them, finding out that I need some sort of microcontroller and then having to forget about the idea as I thought that would be way out of my league, not any more, hooking up the LCD was so easy with Arduinos LCD library, I quickly made a stereo audio VU meter and a basic FFT spectrum analyzer.
Now it’s time to go wireless. I brought 2 cheap NRF24L01 wireless modules (£1.40 each), a USBASP AVR programmer (£3.29), USB to UART converter (£1.95) and an ATMega168 with some extra components (£5.20) all from Ebay. Using the Mirf library for the wireless modules I was quickly able to have one controller change the colour of the LCD backlight of the other controller.
After getting used to the Arduino IDE I wanted to know more about how the code really controlled the chips, I tried looking through the Arduino source files, but the masses of code looked rather confusing, so I thought it would be best to start from scratch.
I downloaded Atmel Studio 6, datasheets for the ATMega168 chip and followed various tutorials over at avrfreaks.net, starting off with timers and interrupts.
Now that I’ve got the basics of AVR microcontrollers down, I’ve got a lot of project ideas involving AVR uCs lined up for the next few months.


Comments