LCD Image Viewer
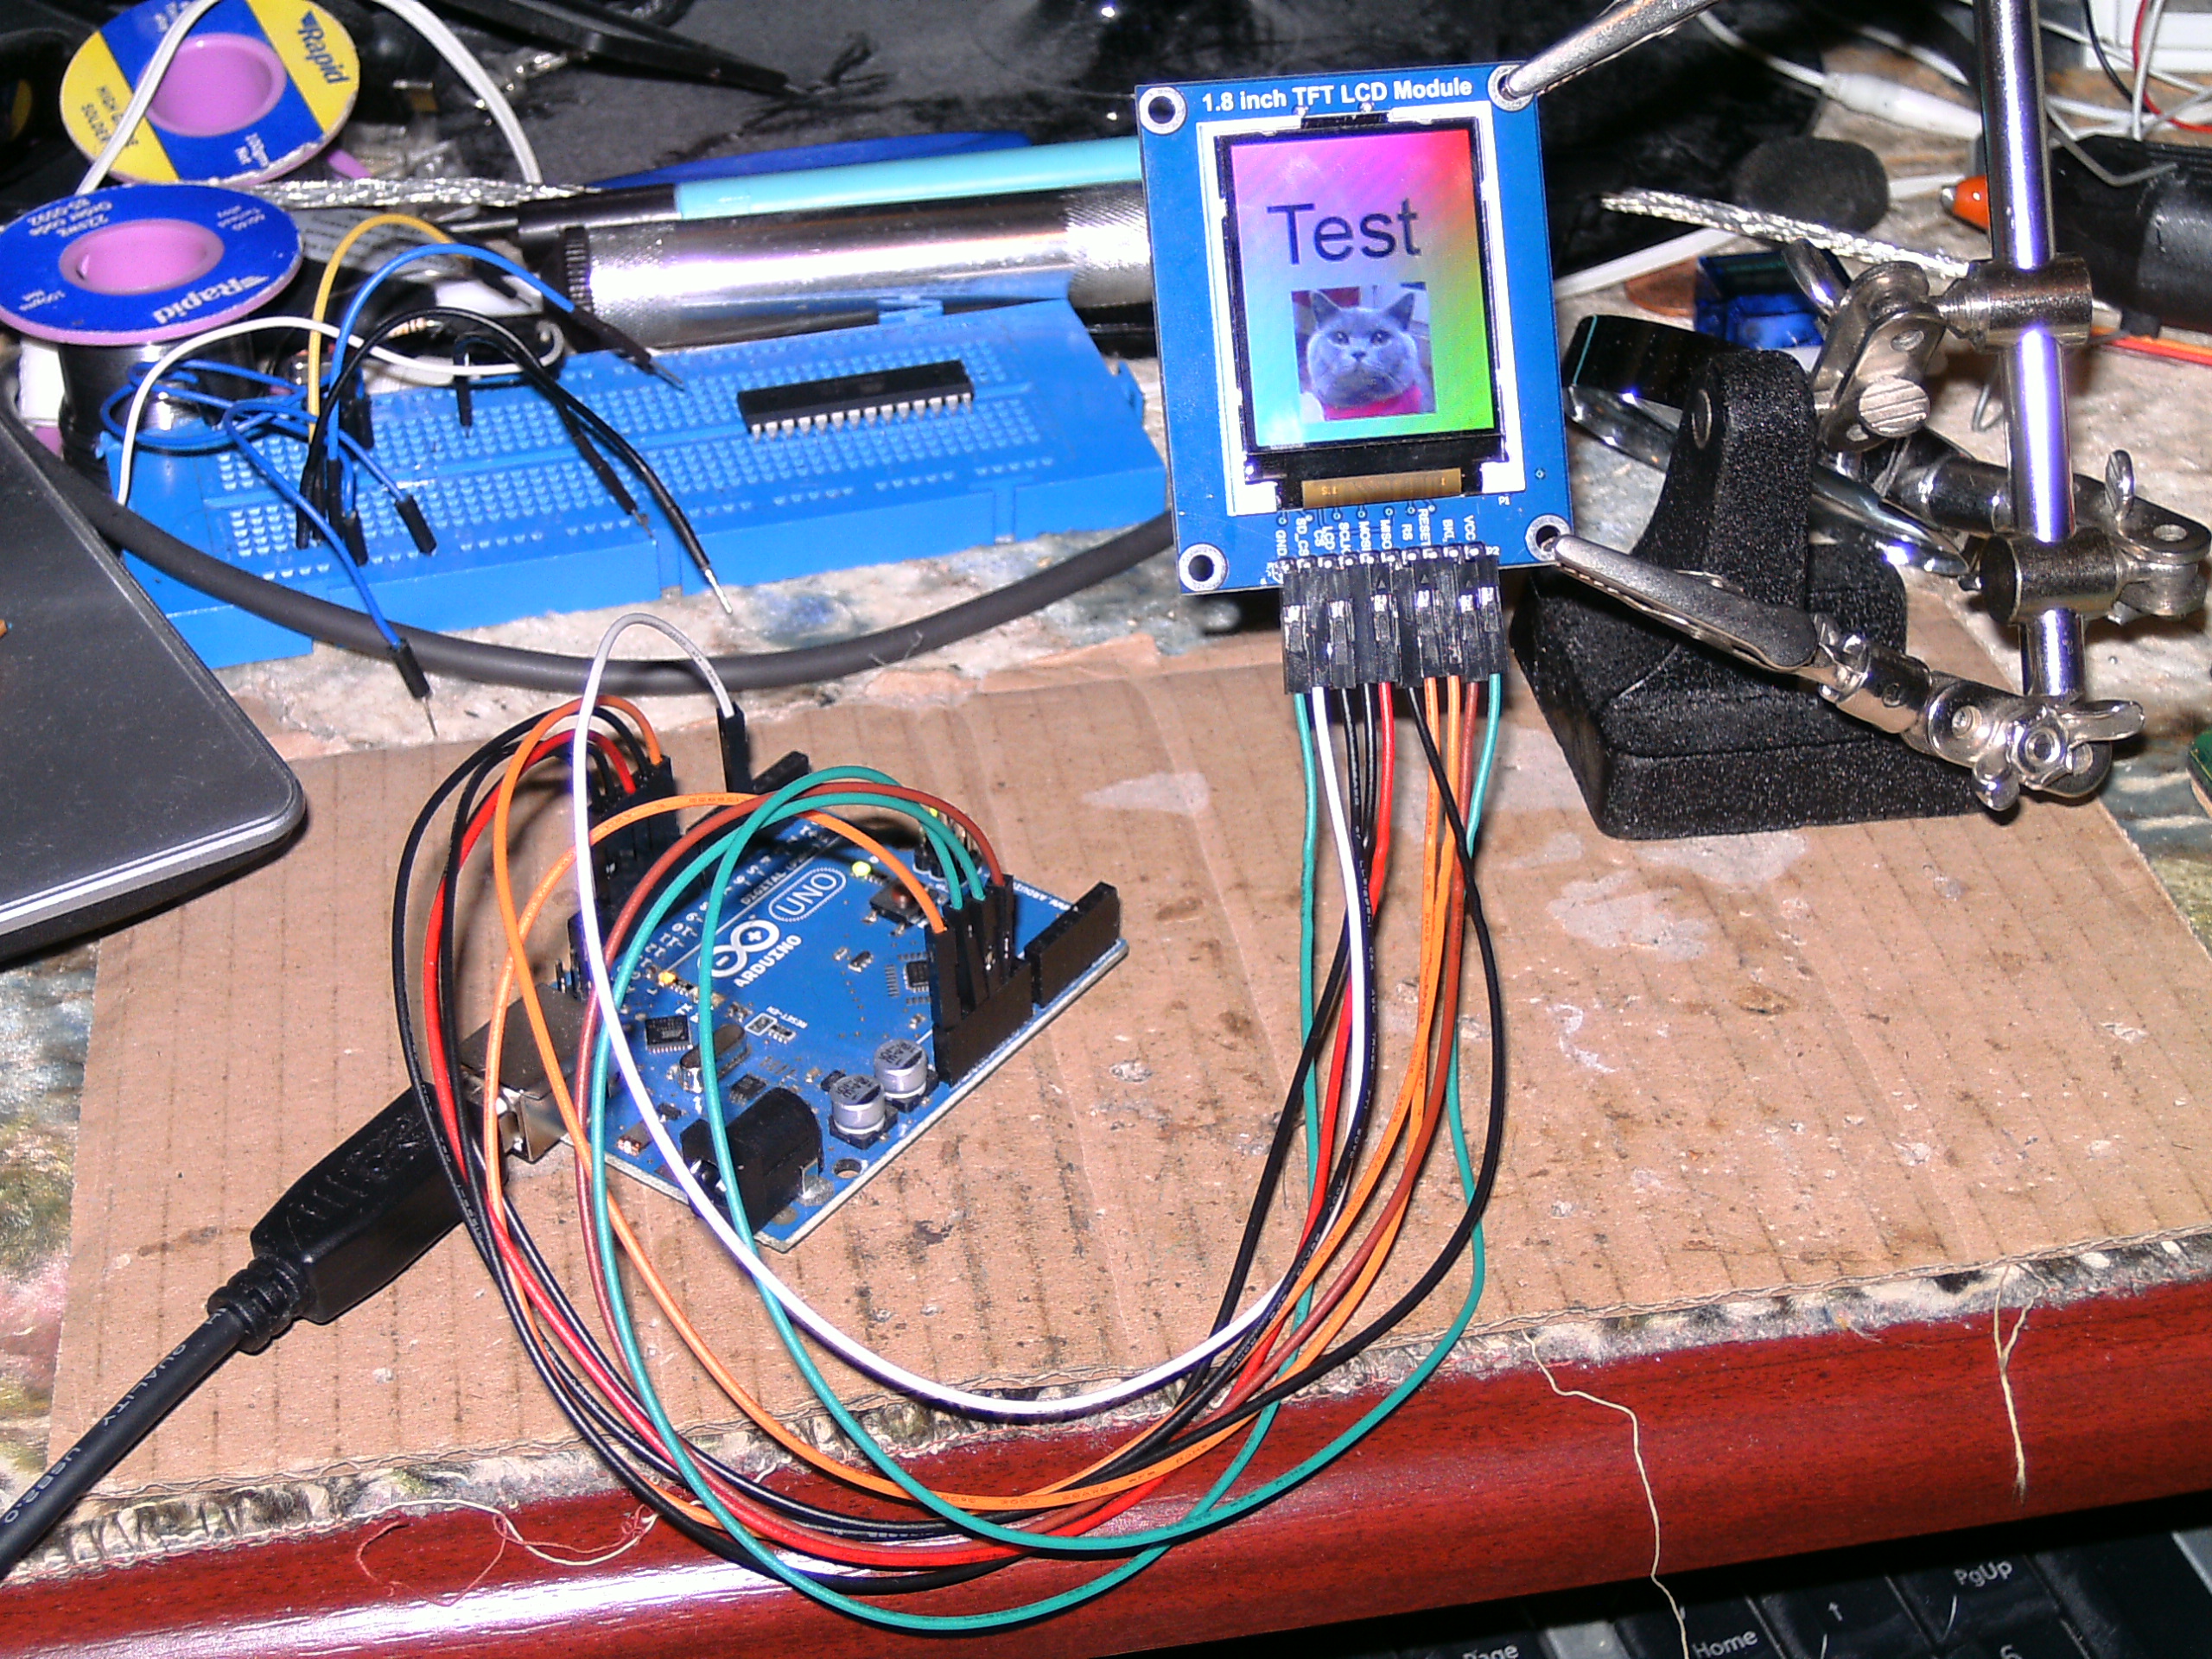
This is a quick project I made to try out a 1.8″ colour LCD display from Ebay, the microcontroller code is very simple, after initializing the display it just waits for serial data and sends it straight to the display. Image processing is done by the host program, open your image (drag on to the program or click Open image), it gets resized, displayed in a preview box and converted to 12, 16 or 18 bit colour during upload.
I’ve also added some extras like rotating, zooming and moving the image around in the preview box.
Setup is wired as follows –
| LCD pin | Arduino Uno pin |
|---|---|
| VCC | 5V |
| BKL | GND |
| RESET** | RESET |
| RS | 9 |
| MISO* | 12 |
| MOSI | 11 |
| SCLK | 13 |
| LCD CS | 10 |
| SD_CS* | 4 |
| GND | GND |
* These are only needed if you’re using the SD slot on the back of the LCD
** Connect RESET to make the LCD reset along with the controller, if you don’t need that then leave disconnected or connected to 5V
Downloads

Further Development
Buffer to SD card
If you don’t like seeing the image slowly appearing on the LCD while uploading you could have it write to an SD card, once complete, load it from the SD card to the LCD.
Wireless
Adding wireless data transmission is easy, using cheap Bluetooth modules from Ebay you can simply connect one to your computer USB->serial converter and the other to the serial input of the microcontroller, the Bluetooth master module only needs to be configured once to connect to the slave module, then the modules do all the serial->Bluetooth->serial converting transparently. I think I might do a post about using Bluetooth modules sometime... and here it is.
Updates
27 Oct 2012
I just realised baud rates higher than 115200 can be used, for some reason I thought 115200 was the highest the chip could go, using the normal AVR C code it’s possible to go up to 921600, 1382400 also worked but didn’t seem to improve upload speed with the Arduino hardware. With the Arduino sketch 230400 will work straight away, to get 460800 a small edit will need to be done, in the loop() function change the line ‘tft.writedata(data);’ to:
PORTB |= (1<<PORTB1);
PORTB &= ~(1<<PORTB2);
SPI.transfer(data);
PORTB |= (1<<PORTB2);
That code just reduces the number of CPU cycles it takes to send a byte over SPI so it has enough time to do everything else like receiving high speed serial data.


Comments