Si4463 Radio Library for AVR and Arduino
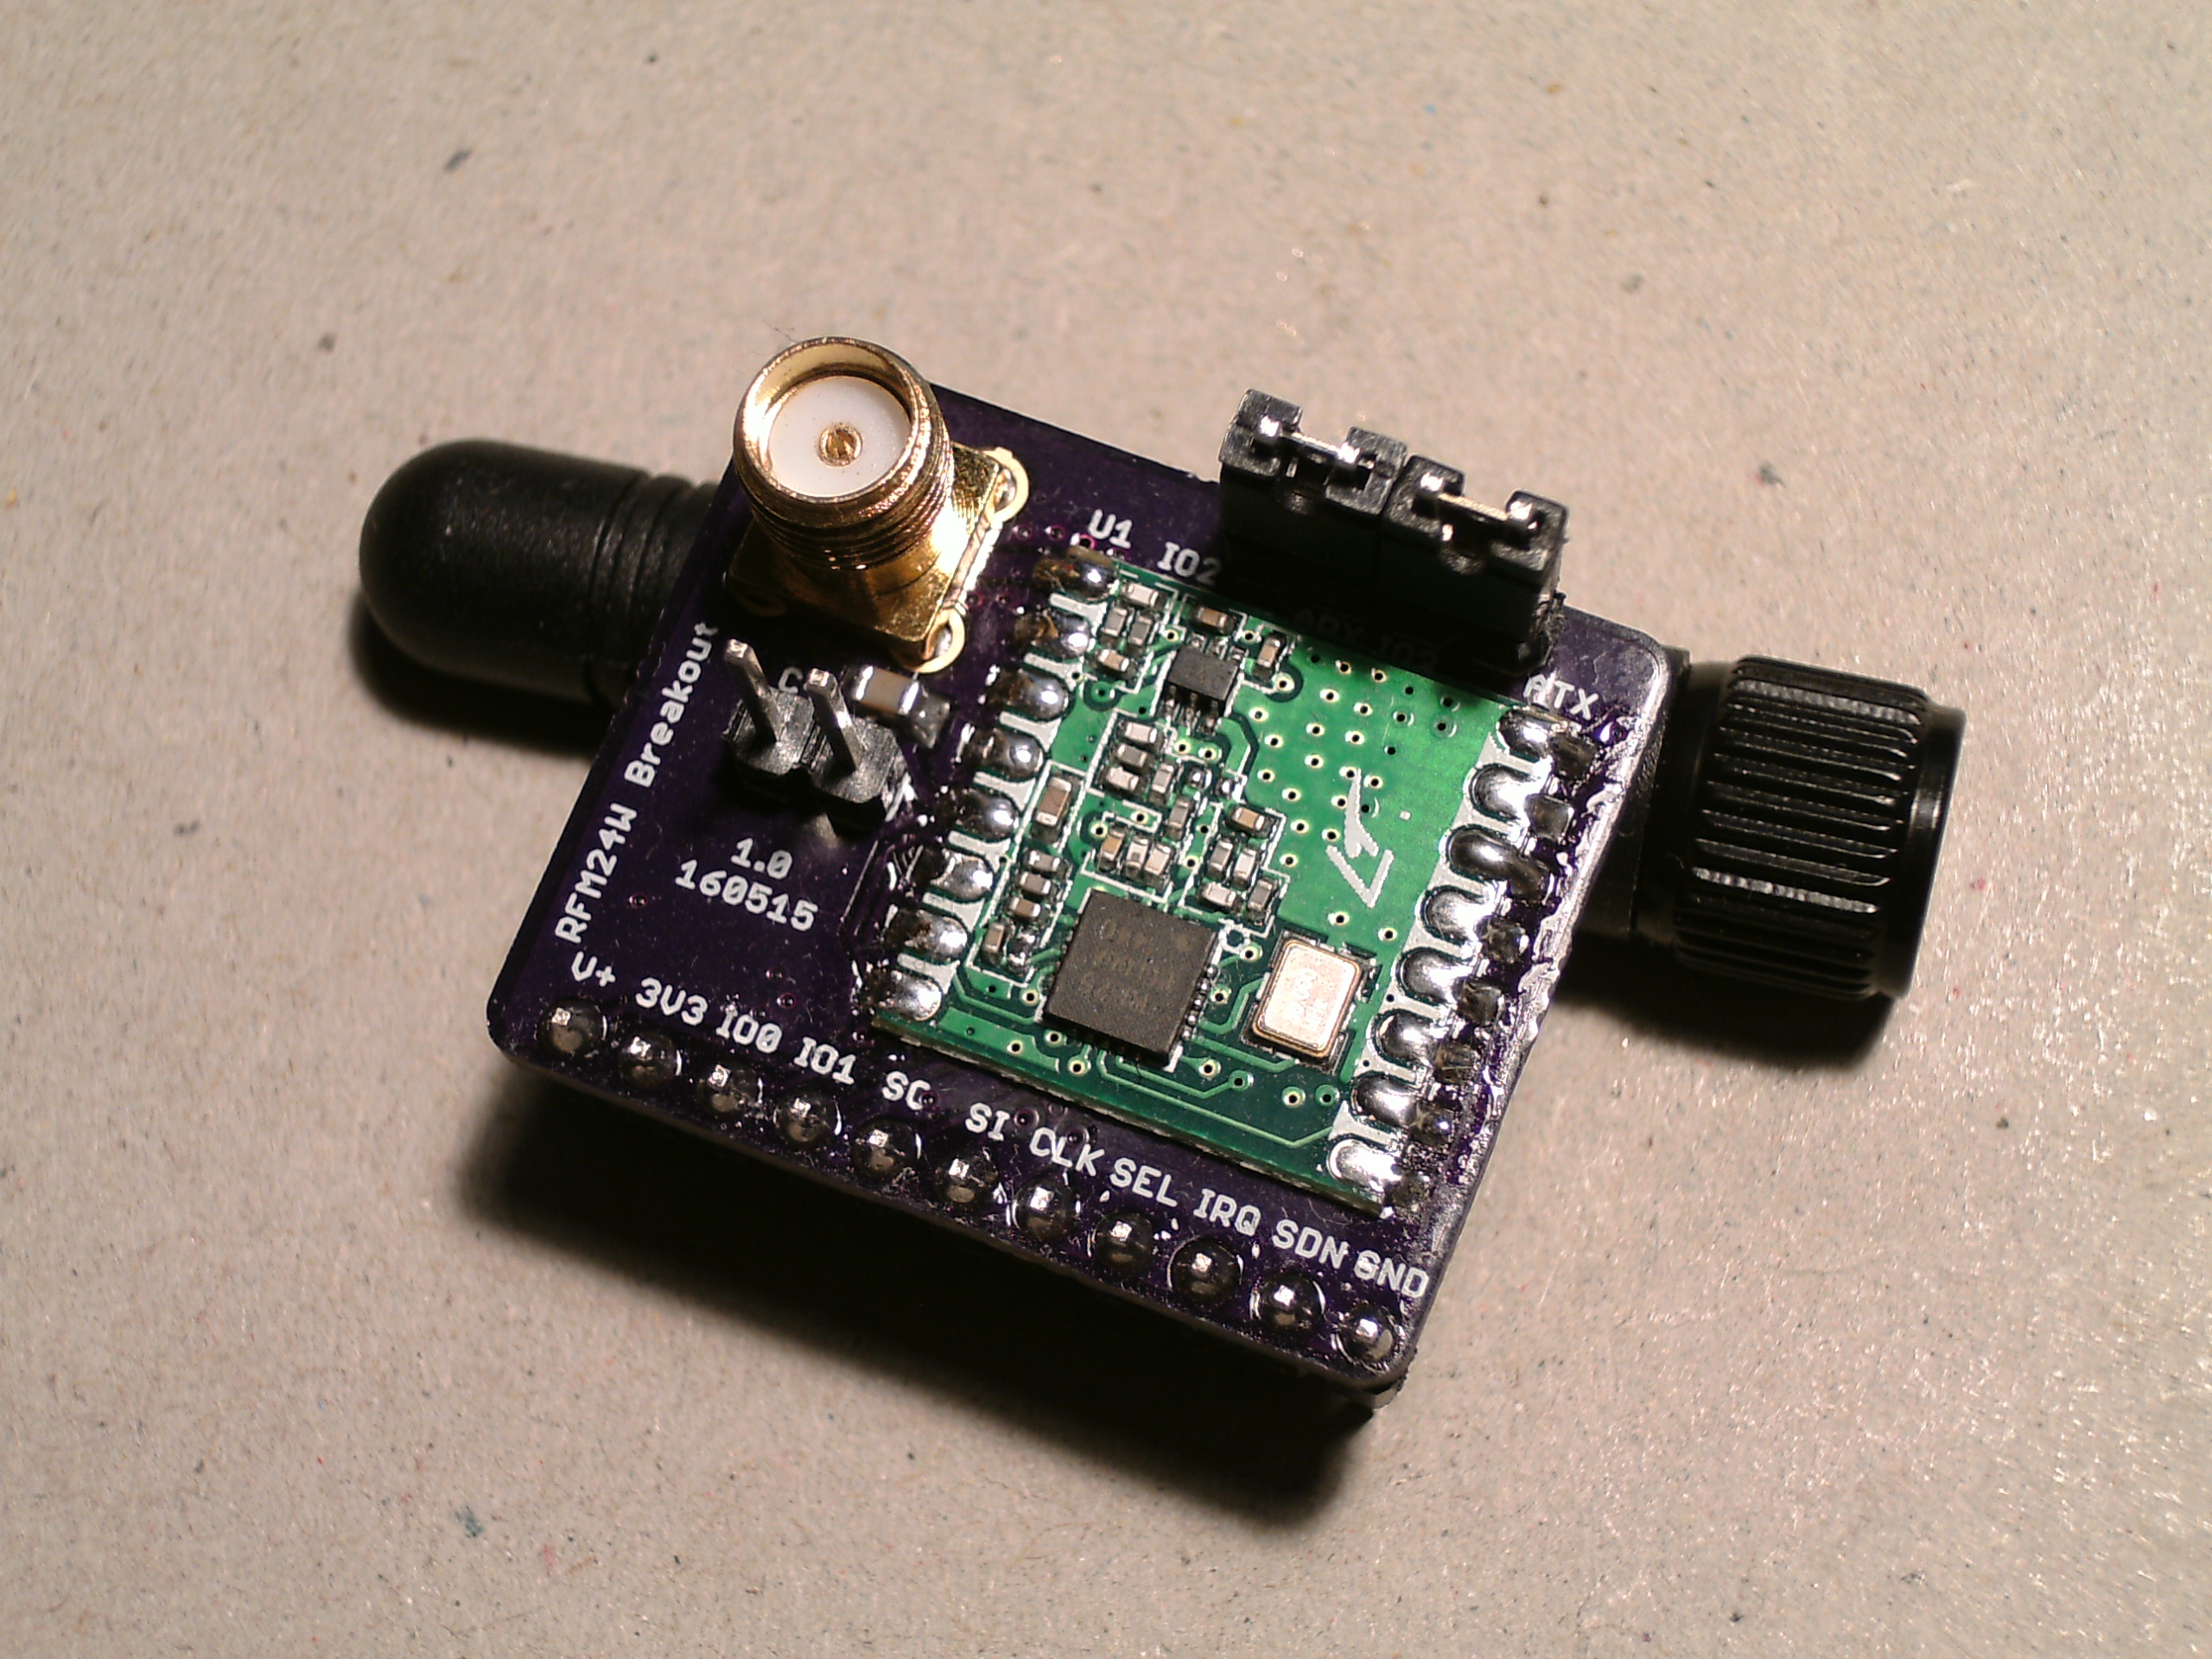
This is a library for use with the Si4463 radio IC from Silicon Labs, used (or will soon be) in some of my projects. The Si4463 is configurable in a ton of different ways with options for modulation, packet format, CRC algorithms and has a high output power of up to +20dBm (100mW). The Si4463 is used in a number of pre-made modules like the HopeRF RFM26W and Dorji_Com DRF4463F. The whole range of Si446x transceivers should also work with this library.
This library configures the chip to send and receive variable length packets of up to 128 bytes and uses callback functions for when events occur, such as receiving a new packet and completing a packet transmission. The callback functions run straight from the interrupt routine allowing the program to react much faster to events than if the library was polled.
Download from GitHub
Documentation
Pinout
| Si4463 | ATmega328 | Arduino Uno | Arduino Mega | Description |
|---|---|---|---|---|
| VCC | 3.3V | 3.3V | 3.3V | Power (3.3V) |
| GPIO0 | - | - | - | - |
| GPIO1 | - | - | - | - |
| SDO | B4 (18) | 12 | 50 | SPI MISO |
| SDI | B3 (17) | 11 | 51 | SPI MOSI |
| SCLK | B5 (19) | 13 | 52 | SPI SCK |
| NSEL | B2 (16) | 10 | 10 | SPI SS |
| NIRQ | D2 (4) | 2 | 2 | Interrupt |
| SDN | D5 (11) | 5 | 5 | Shutdown/reset High = on, Low = off |
| GND | GND | GND | GND | Ground |
The Si4463 is not 5V compatible, you’ll need to do some level conversion to bring the 5V IO voltage down to 3.3V.
Callbacks
This library uses callbacks which are ran when events occur. Since the callbacks run from the interrupt routine be sure that any global variables you use in them are declared ‘volatile’, just as you would when dealing with normal ISRs. These events will wake the microcontroller if it is sleeping. Some callbacks can be turned on and off using Si446x_setupCallback() and Si446x_setupWUT().
| Event | Callback | Default setting |
|---|---|---|
| New packet incoming | SI446X_CB_RXBEGIN | Off |
| Valid packet received | SI446X_CB_RXCOMPLETE | Always enabled |
| Invalid packet received | SI446X_CB_RXINVALID | Always enabled |
| Transmission of packet complete | SI446X_CB_SENT | Off |
| Wakeup timer expired | SI446X_CB_WUT | Off |
| Supply voltage below threshold | SI446X_CB_LOWBATT | Off |
Wakeup timer (WUT)
The Si4463 can be configured to periodically wake up using the wake up timer (WUT). When the wake up timer is active and the radio is put into sleep mode it consumes a tiny 900nA. When the WUT expires the SI446X_CB_WUT callback is ran. The low battery detector uses the wake up timer to initiate a supply voltage measurement. If the supply voltage is below the threshold set by Si446x_setLowBatt() then the SI446X_CB_LOWBATT callback will be ran.
Calculating the correct mantissa (M) and exponent (R) values for the WUT can be a little difficult so here’s a calculator:
| WUT Calculator | |
|---|---|
| Interval (seconds) | |
| R | |
| M | |
| Resolution | |
| Actual interval | |
- |
|
Compatible chips/modules
| Device | Tested |
|---|---|
| Si4460 | Not tested |
| Si4461 | Not tested |
| Si4463 | Works |
| Si4467 | Not tested |
| Si4468 | Not tested |
| HopeRF RFM26W | Works |
| Dorji_Com DRF4463F | Works |
Radio configuration
The radio configuration is quite complex. Wireless Development Suite (WDS) can be used to create different configuration header files:
- Open WDS (can sometimes take a while to load, also try clicking on the center logo)
- Choose 'Simulate radio'
- Scroll down and select 'Si4463'
- Make sure the Revision is set to 'C2'
- Click 'Select Radio' button
- Select 'Radio Configuration Application'
- Click 'Select Application' button
- Click Open (top right of the window) and choose config_normal.xml from the GitHub repo
Areas to avoid changing:
- Packet tab
- Don't change anything in the 'Packet config' and 'Variable length config' tabs
- Interrupt tab
- Don't change any of these settings
- GPIO and FRR tab
- Only change GPIO 2 and 3 if your module uses different pins for the RF TX/RX switch
- Don't change NIRQ and SDO
- Don't change Fast Response Register A and B
To generate the header file containing the new config:
- Click 'Generate source' (bottom right)
- Choose 'Save custom radio configuration header file'
- Save the file somewhere
- The generated config file can't be used just yet, WDS has a few options missing. A Perl script (and a Windows .exe version of it) is provided in the GitHub repo -
perl radio_config.pl radio_config_Si4463.h radio_config.hwill read radio_config_Si4463.h and output to radio_config.h. With the Windows .exe the input header file can be dragged on top of the exe and it will output to radio_config.h. Or to do this manually follow the fix up instructions below, though the manual way won't remove unnecessary settings.
- Remove any '#include' lines (usually just 1 around line 41)
- In 'RF_POWER_UP' define change the second value from 0x81 to 0x01 (normal power up without any patch stuff)
- In 'RF_GLOBAL_CONFIG_1' define change the 5th value (GLOBAL_CONFIG) from 0x20 to 0x30 (puts the FIFO into single 129 byte mode)
- In 'RF_PKT_RX_THRESHOLD_12' define change the 6th from last value (PKT_FIELD_2_LENGTH_7_0) from 0x3F to 0x80 (sets max packet length to 128)
- Remove the 'SI446X_PATCH_CMDS' and 'RF_GLOBAL_CONFIG_1_1' lines from the 'RADIO_CONFIGURATION_DATA_ARRAY' define
Sometimes the defines may not be called RF_GLOBAL_CONFIG_1 and RF_PKT_RX_THRESHOLD_12, in which case search for the field name instead (GLOBAL_CONFIG or PKT_FIELD_2_LENGTH_7_0) and change the corresponding value.
GPIOs
The Si4463 has 4 GPIO pins (numbered 0 to 3) which can be configured in a number of ways, however 2 of the GPIOs are used to control an RF TX/RX switch on most pre-made modules. By default the library configures GPIO2=HIGH when receiving and GPIO3=HIGH when transmitting, this works for the RFM26W and DRF4463F. Most other modules use this same configuration, but check anyways.
Library Coding Tips
- When the radio is put to sleep with
Si446x_sleep()it will automatically wake up when its SPI select line is asserted. Once SPI communication has finished theSi446x_sleep()function must be called again to put it back to sleep. Si446x_setupWUT()will take 300us to complete if the WUT was previously disabled.
Range Testing
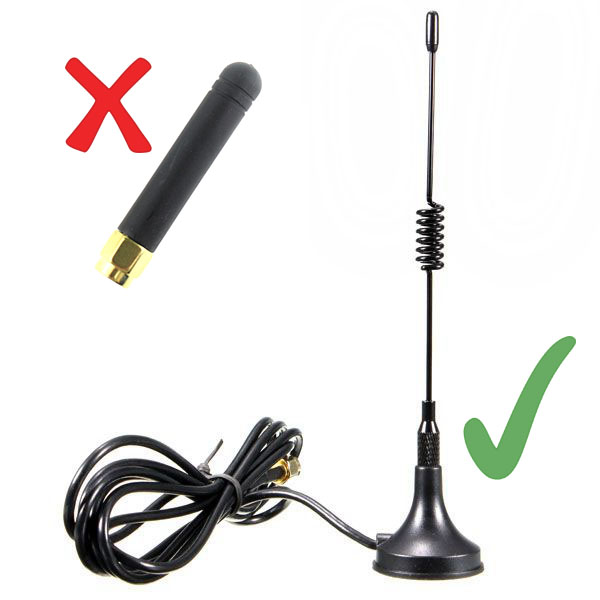
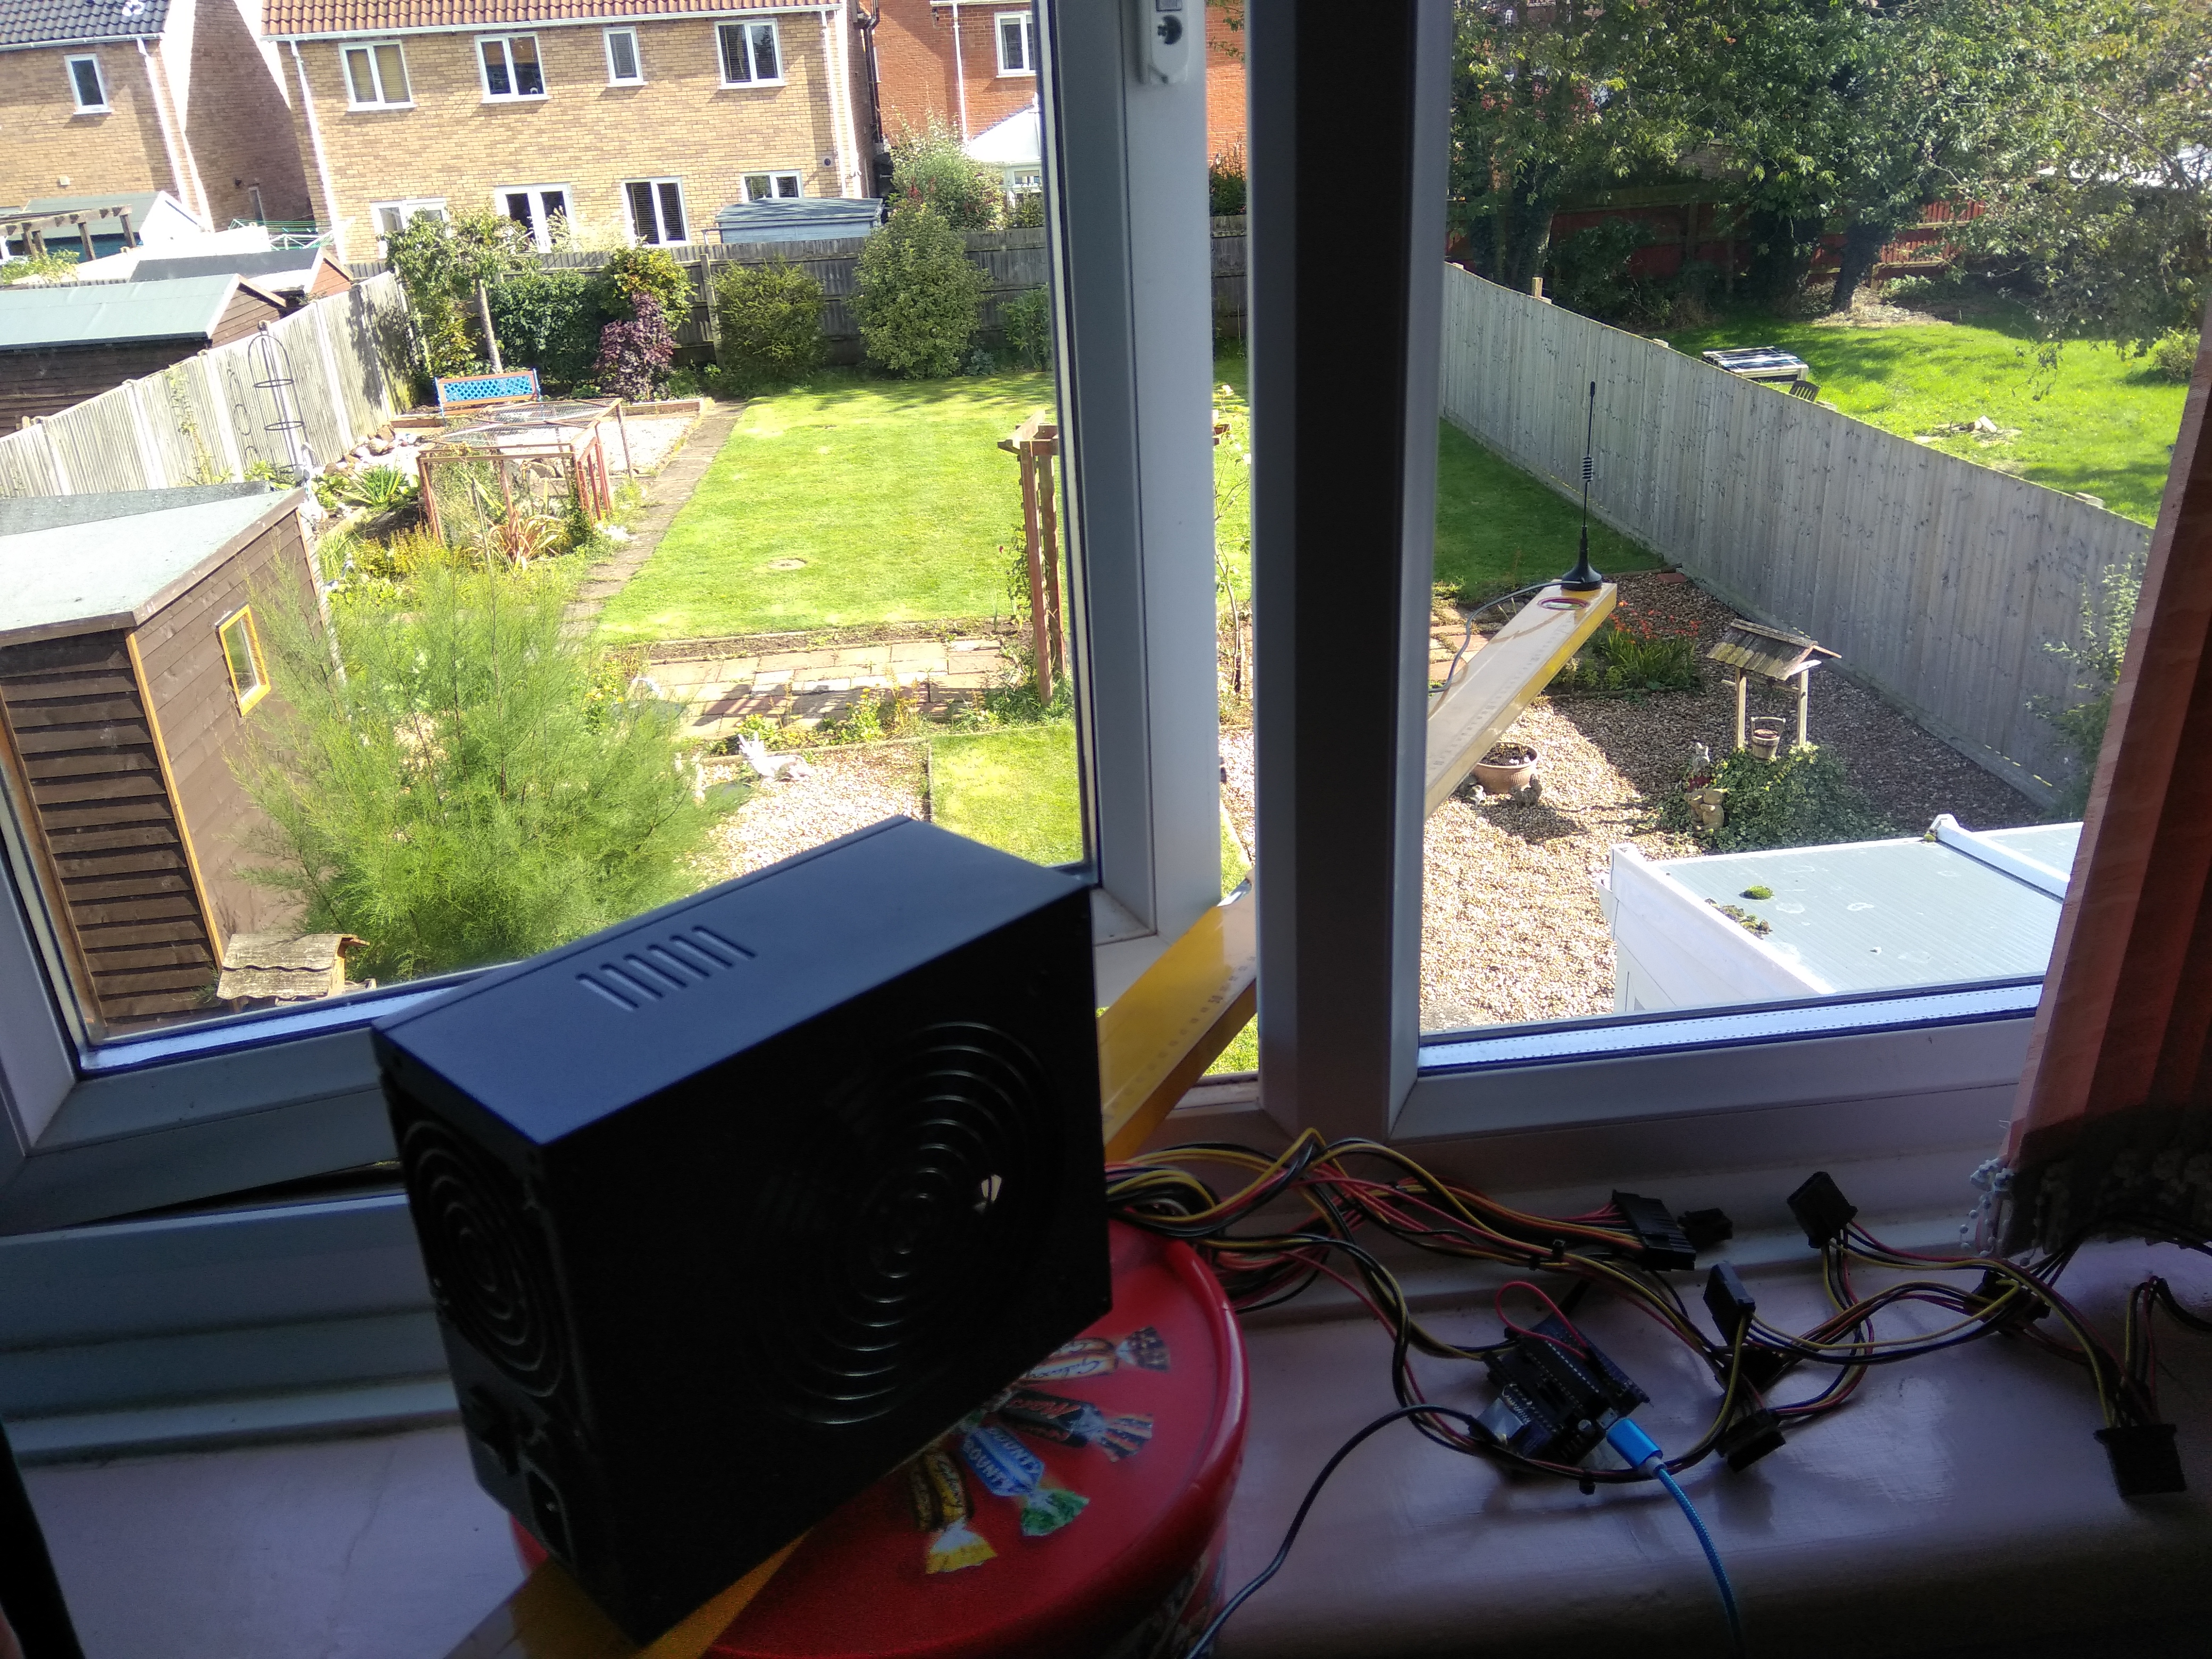
Using the config_longrange_500 config in the GitHub repo and driving around a fairly flat village/country area I managed to receive a valid packet at 2.2 km (1.37 miles) and 3.79 km (2.36 miles) for an invalid packet. This was done using a 3dBi antenna shown below instead of the sort that are normally supplied with radio modules.


Comments